 Blog2Vid
From link to storyboard to video
Blog2Vid reads a blog post the way an editor would — pulling out the text and images and laying them into a scene-by-scene storyboard you can shape into a video.
Every post becomes a storyboard
Blog2Vid extracts your page's text and images, then builds a storyboard where each image becomes its own scene. Every scene carries five settings, laid out left to right just like a shot list:
Visual
The scene's image or video
Voiceover script
The narration text
Voiceover
The narration audio
Presenter
An optional talking face
Video
The rendered scene clip
Scenes aren't fixed to what came out of the post — add a blank scene anywhere in the storyboard, then drag it into place (or use the up/down arrows). Both auto-generated and manually added scenes can be deleted at any time.
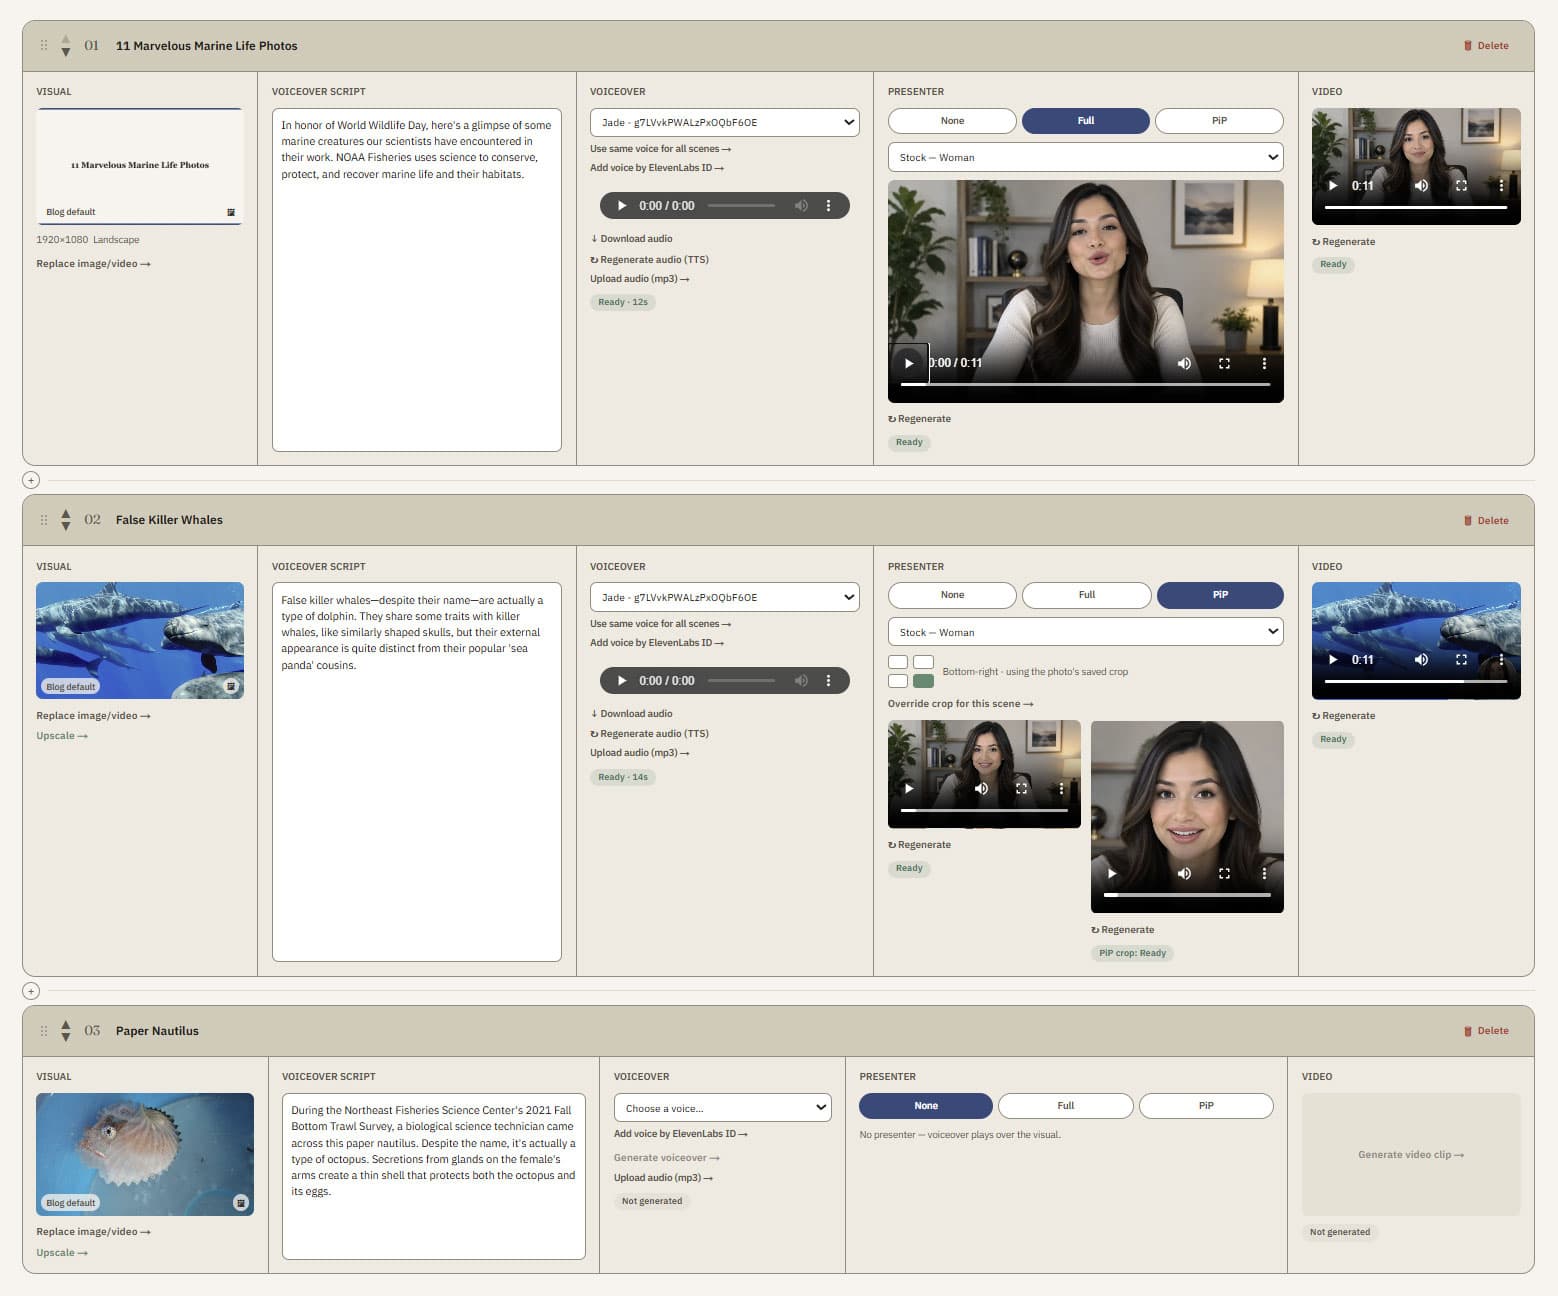
Multiple scene rows stacked
Adjust the visual
Each scene starts with the image or video pulled from your post. You're not locked into it.
- —Open it larger — click a scene's thumbnail to view it in a lightbox.
- —Upscale — enlarge a visual that came in low-resolution.
- —Replace image/video — swap in something you've uploaded on the Assets page.
- —Restore original image — revert back to what came from the blog post.
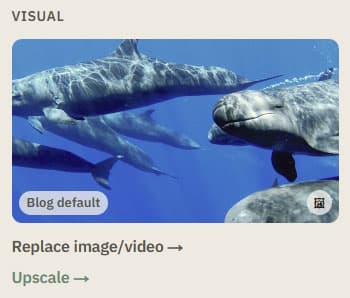
Thumbnail pulled from the post
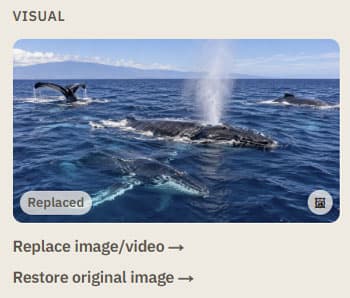
Replace image/video panel
Review the script
The voiceover script keeps your original wording — Blog2Vid only fixes typos and obvious mistakes along the way. Read it over and edit freely; every change saves on its own.
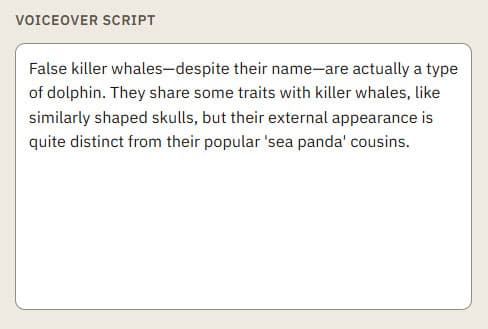
Script editor, one scene
Give it a voice
Turn the script into narration with whichever voice fits the post.
- —Stock voices — two American English voices, one male and one female, ready by default.
- —Add voice by ElevenLabs ID — bring in any specific voice from the ElevenLabs library.
- —Clone your own — upload a 30-second clip of your voice on the Assets page, then select it here.
- —Generate voiceover — render the audio and play it back before moving on.
- —Upload audio — or skip generation entirely and bring your own mp3.
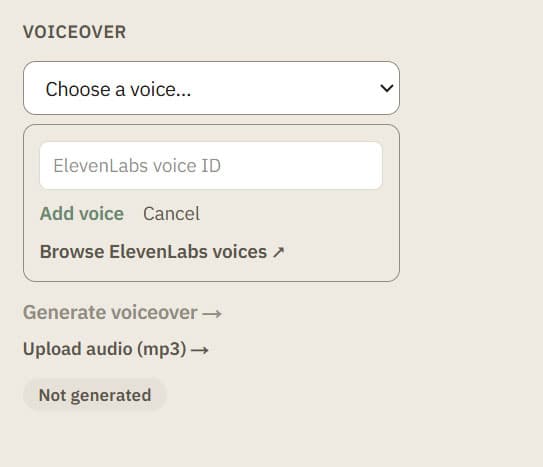
Voice dropdown + Add voice by ID
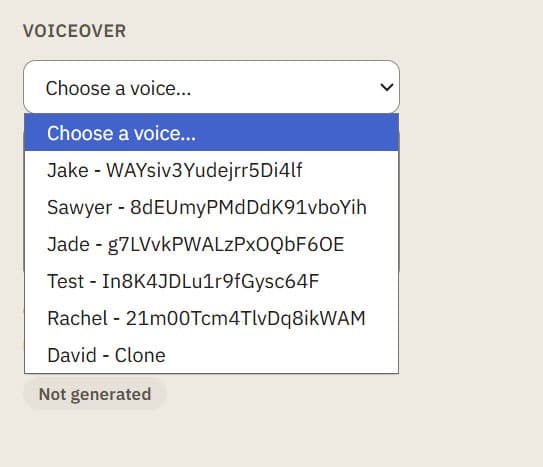
Stock and cloned voices in the dropdown
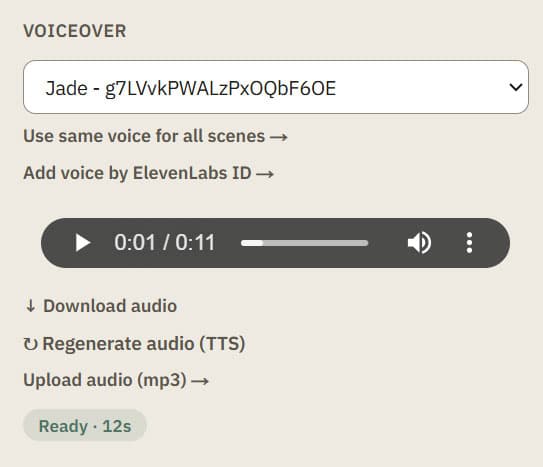
Playback, download, and regenerate options
Choose a presenter
Add a face to narrate the scene, and it'll be lipsynced to the voiceover audio automatically.
- —None — no presenter; the voiceover plays over the visual.
- —Full — choose a presenter, then click Generate talking presenter to fill the frame.
- —PiP — choose a presenter and a corner (bottom-right by default); the overlay is a square crop of the full presenter.
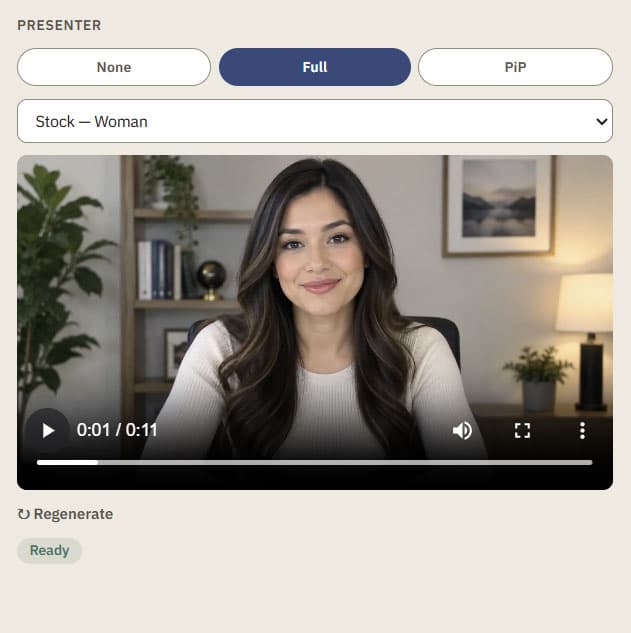
Presenter panel, "Full" selected
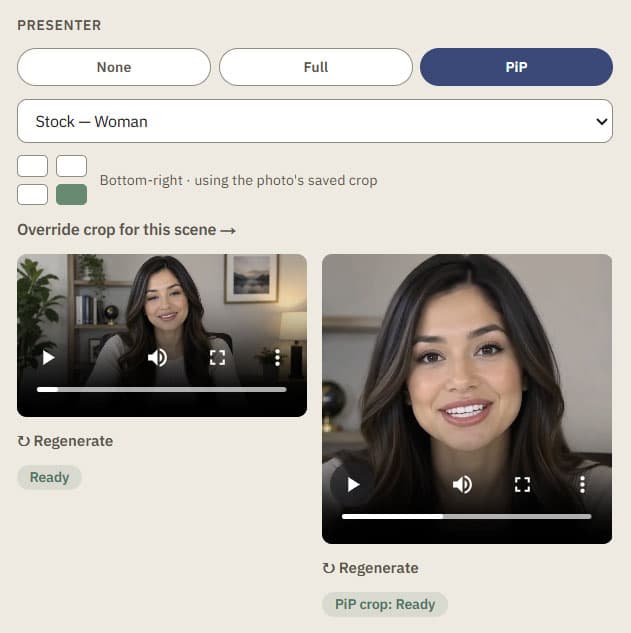
Presenter panel, "PiP" selected
Generate the clip
Once a scene's visual, script, voiceover and presenter are set the way you want, click Generate video clip to render that scene using all of its settings.
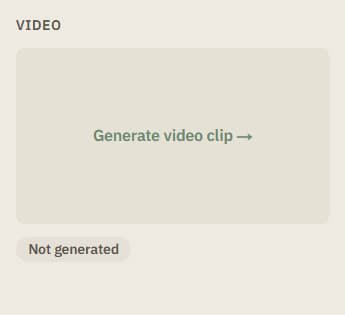
Generate video clip button
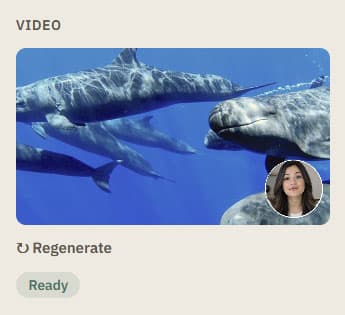
Regenerate option + Ready badge
Storyboard-wide settings
Once every scene is set the way you want, a set of storyboard-wide actions lets you finish the whole video in one pass instead of scene by scene.
- —Upscale all low-res images — batch-upscale every scene's visual in one click.
- —Generate all scene voiceovers — render narration for every scene at once.
- —Generate subtitles (.srt) — export captions for the finished video.
- —Add background audio — layer music under the narration for the whole video.
- —Generate all scene videos — render every scene's clip in a single pass.
- —Generate final video — stitch every scene's clip together into the finished video.
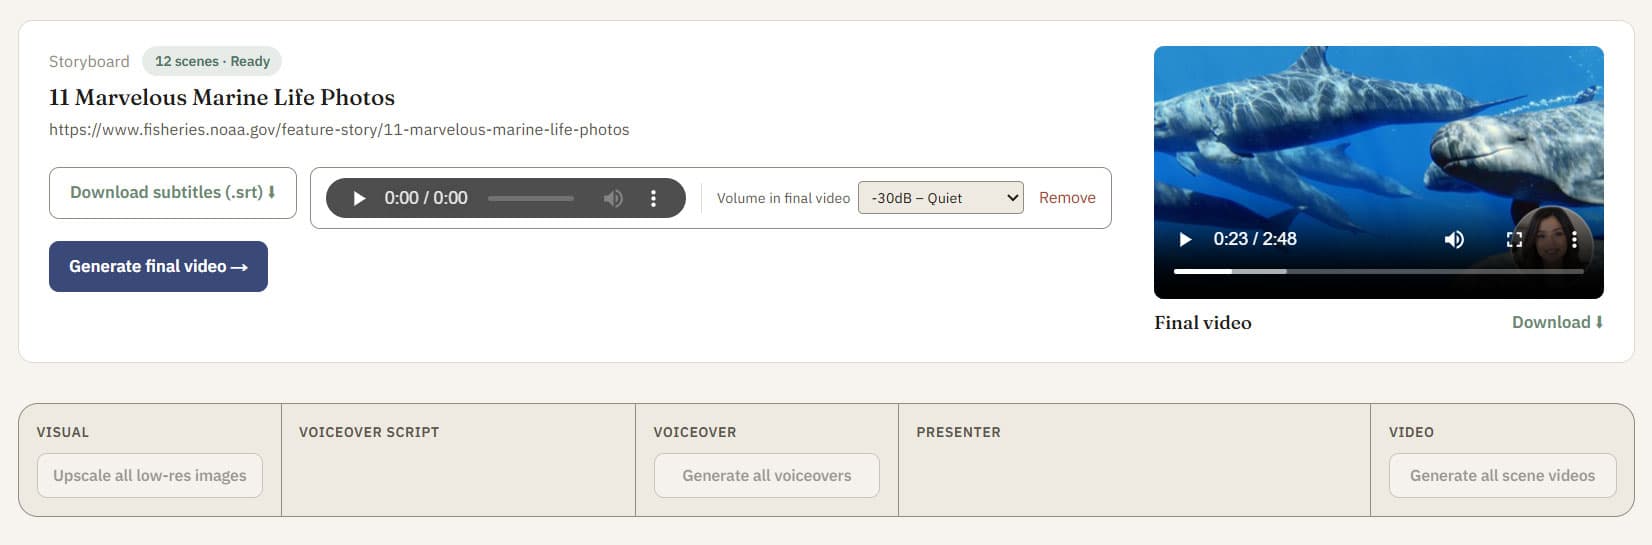
Bulk actions + final video preview
Turn your next post into a video.
Paste a link, review the storyboard, and generate — your images stay yours the whole way through.